Slipform paving turns fresh concrete into a road surface while the machine advances continuously. Small grade errors can become visible waves, uneven drainage, or costly corrections. This explains why many contractors ask, “what are the advantages of automatic leveling in slipform paving?” The answer begins with control. Automatic leveling continuously compares the mold elevation with a reference line, stringline, or 3D model. It then adjusts hydraulic systems with little delay.
FHWA’s Smoothness of Portland Cement Concrete Pavements guidance identifies initial smoothness as an important indicator of ride quality and pavement performance. FHWA’s Long-Term Pavement Performance program also shows why consistent construction matters across a pavement’s service life. Meanwhile, ACPA technical guidance emphasizes stable concrete delivery, correct vibration, and accurate machine control. These systems work together. Automation cannot rescue poorly proportioned concrete or careless setup.
Peter C. Taylor, a recognized concrete pavement specialist and former director of the CP Tech Center, has stated, “Consistency is the foundation of good concrete paving.” That principle supports the seven practical tips covered in this article: calibrate sensors, maintain a stable reference, monitor hydraulic response, control concrete supply, check transverse slope, verify the finished profile, and train operators. The results can include smoother surfaces, fewer manual adjustments, reduced rework, and more predictable productivity. Still, perfection is not guaranteed. Sensor drift, stringline movement, changing concrete stiffness, and operator decisions can weaken performance. Automatic leveling is powerful, but it needs disciplined inspection and human judgment beside the control panel.
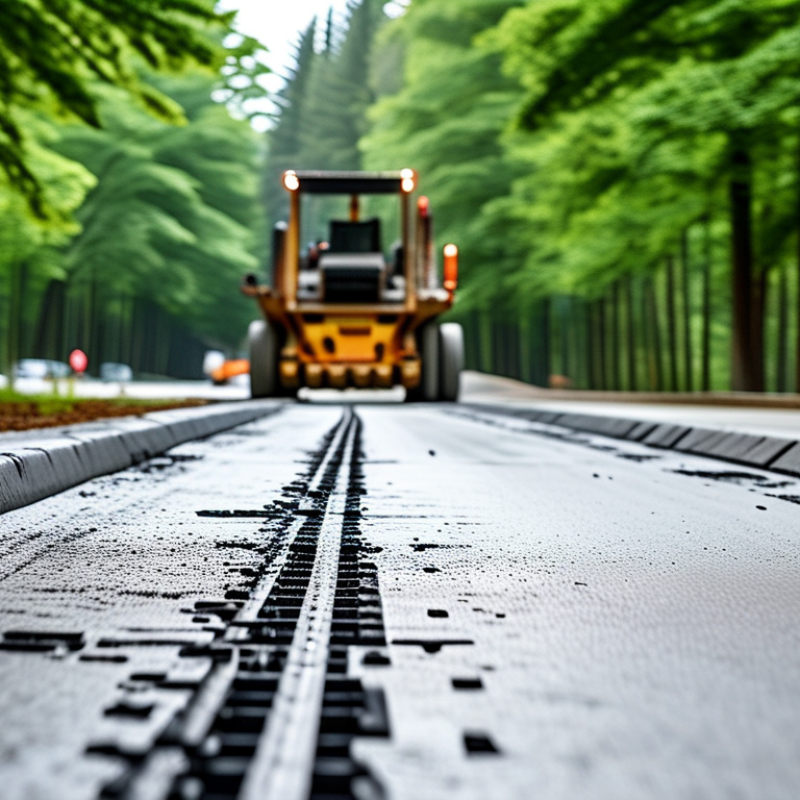
Automatic leveling in slipform paving keeps the paving mold aligned with a planned elevation. A sensor reads a nearby reference line, wire, or digital surface model. It compares the measured position with the target grade. The controller then sends small commands to the hydraulic system. These commands raise or lower the mold during paving.
The process happens continuously, often several times each second. If the slab begins to rise, the system reduces the relevant hydraulic pressure. If it drops, the system makes a controlled correction. This helps maintain consistent thickness, crossfall, and surface smoothness. It also reduces sudden steering or elevation changes caused by operator fatigue. The result can be more uniform concrete placement and fewer corrective passes.
Field experience shows that setup quality matters as much as the control system. Sensors need clean mounting points and stable reference data. Workers should check calibration before concrete reaches the machine. Dust, vibration, poor lighting, or a damaged reference can create false readings. Small errors accumulate.
Not every uneven surface is solved automatically. Manual observation remains necessary around joints, edges, and transitions. A skilled operator should question unusual corrections instead of trusting every signal. That habit is easy to overlook. Regular checks of sensor alignment, hydraulic response, and concrete consistency improve reliability. When these details are managed carefully, automatic leveling becomes a practical tool for steadier paving and more predictable results.
It helps maintain consistent grade, slab thickness, and surface smoothness. Small elevation errors can grow across long paving sections. The system adjusts the machine using reference signals. It reduces variation, but it is not foolproof.
A dirty, loose, or vibrating reference line can create accurate-looking mistakes. Clean dust and concrete buildup before paving. Check its supports and stability at several locations. A poor setup can cause a long correction zone.
Check and calibrate sensors before every concrete placement. Confirm connections, zero readings, and reference-beam alignment. A five-minute setup error may affect hundreds of meters. Small errors matter.
Keep the paving speed steady whenever possible. Sudden acceleration can create thin areas or visible ripples. Sudden stops may leave waves and irregular joints. Do not rush.
Monitor slump, temperature, and delivery spacing during placement. Uneven concrete supply can affect the surface, even with automatic control. Wet concrete and temperature changes may alter the final profile. Material consistency matters.
No. Compare automatic readings with manual grade and thickness checks. Inspect joints, edges, and the finished surface directly. A normal display may hide a drifting reference. I may still miss something.
Gradual responses usually produce a smoother profile. Sharp corrections can create abrupt transitions or visible surface changes. Operators should avoid overcorrecting harmless signals. Slower decisions are sometimes better.
Record grade checks and thickness measurements during the pour. Review smoothness values and transverse profile results afterward. A commonly used smoothness target is near 95 inches per mile, but project requirements vary. Final inspection alone may not reveal every problem.
Automatic leveling in slipform paving uses sensors, control systems, and precise adjustment mechanisms to maintain the designed elevation as concrete is placed and formed. Before paving begins, the system should be properly calibrated, sensors securely positioned, reference lines or grade controls checked, and the machine’s steering and leveling functions tested. During operation, consistent monitoring of concrete supply, paving speed, vibration, and mold performance helps maintain uniform grade, slab thickness, and surface smoothness.
For better results, operators should keep sensors clean, verify reference points regularly, control material consistency, avoid sudden speed changes, inspect the paving mold, monitor finished surfaces, and respond quickly to deviations. These practices improve paving accuracy and reduce rework. If you ask, “what are the advantages of automatic leveling in slipform paving,” the main benefits include better quality control, higher productivity, more consistent pavement profiles, reduced material waste, lower labor demands, improved surface performance, and greater confidence in meeting project specifications.

 MRECH Machinery